How to Cut a Birthday Cake Neatly and Evenly
Learn how to cut a birthday cake neatly and evenly with simple tips, smart tools, and easy techniques for perfect slices every time.

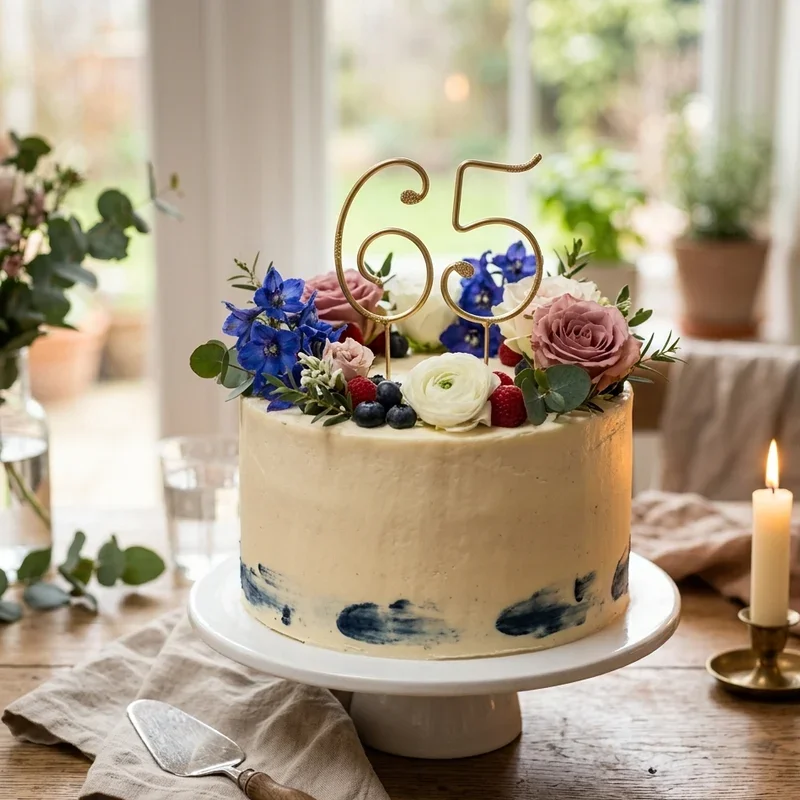
Let's be honest for a second. You've spent hours picking the perfect cake, decorating it with those gorgeous swirls of frosting, and placing candles just right. Then comes the moment of truth, and suddenly the whole thing looks like it survived an earthquake. We've all been there, haven't we? That first slice comes out looking more like a crumbled mess than a beautiful wedge, and before you know it, someone at the table is getting a sliver while another person walks away with half the cake.
Well, here's the good news. Learning how to cut a birthday cake neatly and evenly isn't rocket science, but it does require a little know-how. With the right approach, the right tools, and a handful of clever tricks, you can turn this once-dreaded task into something you actually feel confident about. Whether you're dealing with a towering three-layer masterpiece or a simple sheet cake for the kids, this guide has got you covered from start to finish.
Why Does It Even Matter How You Cut a Birthday Cake?
You might be thinking, "It's just cake. Who cares what it looks like once it's on the plate?" And sure, fair point. But there's something to be said about presentation, especially when you've put effort into making or ordering something special. A neatly sliced cake shows care. It tells your guests that every detail matters to you, even the small ones.
Beyond looks, cutting a cake evenly ensures that everyone gets a fair share. Nobody wants to be the person handing out one giant slab and one paper-thin piece. Kids notice. Adults notice. And let's face it, when there's frosting involved, people can get surprisingly passionate about equal portions.
Plus, there's a practical side to it. Uneven cuts lead to crumbling, collapsing layers, and frosting smeared all over the plate. When you take the time to do it right, the cake holds its shape, the layers stay intact, and each slice looks as good as the one before it.
How to Cut a Birthday Cake Neatly and Evenly: Tools You Actually Need
Before you even think about making that first cut, let's talk tools. Grabbing a random butter knife from the drawer and going to town isn't going to do the trick. Here's what you'll want on hand.
A long, sharp, serrated knife works wonders for most cakes. The serrated edge grips the surface without tearing through soft sponge, and the length lets you cut through the entire diameter in one smooth motion. For denser cakes like pound cake or cheesecake, a thin, non-serrated blade is your best friend.
A tall glass or pitcher of hot water is something most people overlook, but it makes a world of difference. Dipping your knife in hot water between cuts keeps the blade warm, which means it glides through frosting and cake layers without dragging or sticking. Just remember to wipe the blade with a clean cloth after each dip.
You'll also want a cake server or offset spatula for lifting slices cleanly off the platter. Trying to scoop a slice with just a knife usually ends in disaster. The flat surface of a server supports the entire piece, keeping it from breaking apart on the way to the plate.
Dental floss or unflavored fishing line might sound odd, but plenty of professional bakers swear by this method. It's particularly useful for delicate cakes that tend to squish under the pressure of a blade. You simply hold the floss taut, press it down through the cake, and pull it out from the bottom. Clean cuts every single time.
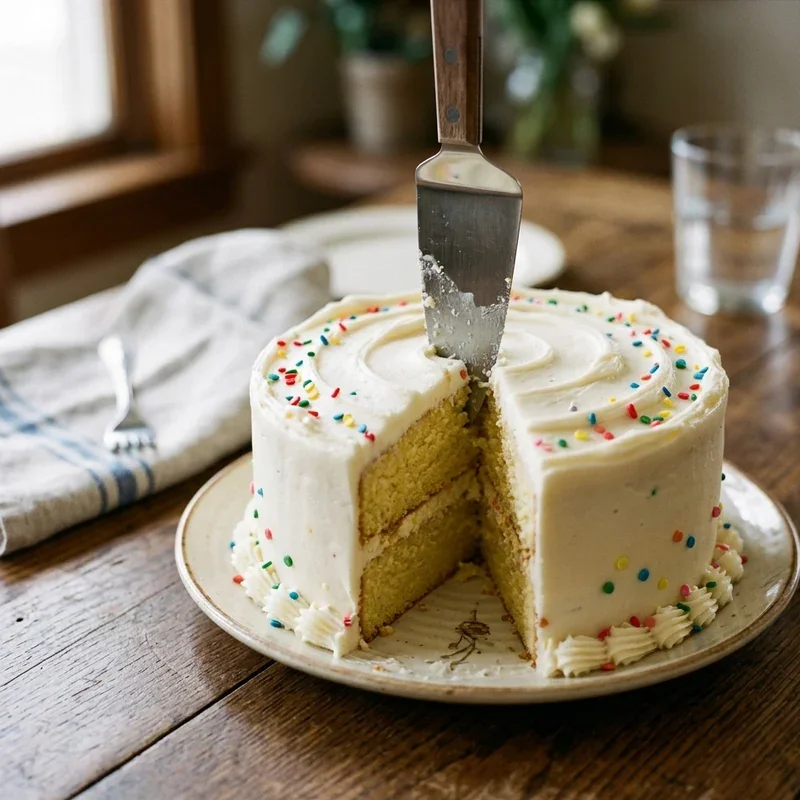
How to Cut a Round Birthday Cake Neatly and Evenly
Round cakes are the classic choice for birthdays, but they can be a bit tricky if you don't have a plan. Here's a step-by-step approach that works like a charm.
Start by finding the center of the cake. You can eyeball it or use a toothpick to mark the spot lightly on the frosting. This center point is your reference for everything that follows.
Make your first cut straight through the middle, dividing the cake into two equal halves. Don't rush this. Use long, smooth strokes with your knife, pulling it toward you rather than pressing down. A sawing motion works better than brute force, especially with layered cakes.
From there, cut each half in half again. Now you've got four equal quarters. For eight slices, simply divide each quarter in half once more. If you need more servings, keep halving each section until you've reached the right number.
Here's a trick that professional bakers use. Instead of cutting individual slices from different spots around the cake, always work symmetrically. Cut opposite sides first, then fill in the gaps. This keeps everything balanced and prevents one side from getting more slices than the other.
For parties with a lot of guests, consider the grid method. Instead of cutting traditional wedges, slice the cake into parallel lines going one direction, then rotate and cut parallel lines going the other way. You'll end up with smaller, rectangular pieces that are much easier to distribute evenly.
How to Cut a Sheet Cake Without Making a Mess
Sheet cakes are supposed to be the easy option, right? Just cut a grid and serve. But somehow, things still go sideways. The frosting peels off, the corners crumble, and the middle pieces always seem to come out lopsided.
The secret to cutting a sheet cake starts with chilling it first. Pop it in the fridge for about 30 minutes before cutting. Cold cake is firmer, which means it holds its shape better when the knife goes through. The frosting sets up too, so it won't smear or slide around.
Use a ruler or a clean piece of string to mark your guidelines before cutting. Measure the length and width of the cake, then divide accordingly. For a standard half-sheet cake, cutting five columns and four rows gives you 20 evenly sized pieces. Adjust those numbers based on how many guests you're serving.
When you start cutting, press the knife straight down and pull it back out without dragging it sideways. Lift the blade completely out of the cake before repositioning for the next cut. This prevents the frosting from getting caught on the blade and pulling off the top of adjacent pieces.
Remove the corner pieces first. They're the easiest to extract because they have two open sides. Once the corners are out, the rest of the pieces slide out much more smoothly because there's room for the server to get underneath.
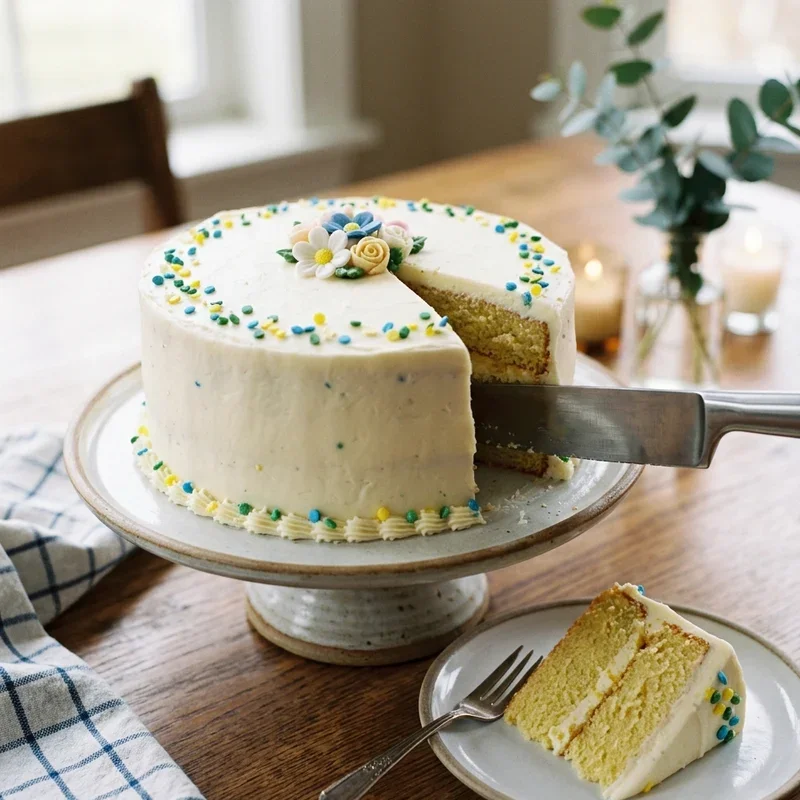
Tackling Multi-Layer and Tall Cakes
Tall cakes with multiple layers present their own set of challenges. The height makes it harder to keep the knife straight, and all those layers of filling create slippery zones where the cake can shift or slide apart.
Chill the cake thoroughly before cutting. This is non-negotiable for tall cakes. The cold temperature firms up the frosting, the filling, and the cake itself, giving everything more structural integrity.
Use a knife that's taller than the cake is high. This might seem obvious, but plenty of people try to cut a six-inch-tall cake with a four-inch blade and wonder why things fall apart. The knife needs to reach from top to bottom in a single downward motion.
Go slow and steady. Press the knife down gently, letting the weight of the blade do most of the work. If you feel resistance, don't push harder. Instead, use a gentle sawing motion. Once the knife reaches the bottom, pull it straight out toward you. Don't twist or wiggle it, as that'll cause the layers to shift.
For extremely tall or soft cakes, consider removing the top tier or top layer before cutting the rest. You can slice the top portion separately and then tackle the bottom, which is much more manageable when it's not balancing three layers of mousse above it.
Special Techniques for Different Cake Types
Not all cakes are created equal, and the method that works perfectly for a buttercream-frosted round cake might be a total disaster for a cheesecake or an ice cream cake.
For cheesecake, use a thin, sharp, non-serrated knife dipped in very hot water. Cheesecake is dense and sticky, so the heat is essential. Wipe the blade clean between every single cut. If you skip this step, you'll end up with a cloudy, messy-looking surface on each slice.
Ice cream cakes need to sit out of the freezer for about five to ten minutes before cutting. You want it soft enough that the knife goes through without cracking the frozen layers, but firm enough that it doesn't start melting into a puddle. Use a large, heavy knife and press down firmly in one motion.
For cakes with fondant, score the fondant first with a sharp paring knife before cutting all the way through. Fondant tends to drag and tear if you try to cut through it and the cake underneath in one go. Scoring creates a clean line that the bigger knife can follow without making a mess.
Angel food cake and chiffon cakes require a serrated knife because they're so light and airy. A regular knife compresses the sponge. Use a gentle back-and-forth sawing motion and let the serrated edge do the work. Some people even use a special fork-like tool called an angel food cake cutter that separates the cake without crushing it.
Common Mistakes People Make When Cutting Birthday Cake
Knowing what not to do is just as important as knowing the right technique. Here are some blunders that trip people up time and time again.
Using a dull knife is probably the most common mistake. A dull blade tears instead of slicing, leaving you with ragged edges and a pile of crumbs. Always make sure your knife is sharp before you begin.
Pressing down too hard is another frequent issue. People tend to bear down on the knife as if they're chopping wood. Cake is delicate. Let the knife glide through with gentle, controlled strokes.
Skipping the cleaning step between cuts is a recipe for disaster, quite literally. Every time you pull the knife out, frosting and crumbs cling to the blade. If you don't wipe it clean, the next cut drags all that gunk into the fresh surface.
Cutting too early is a mistake that's easy to make when you've got a table full of impatient party guests. If the cake has just come out of the oven or just been frosted, give it time to set. Room temperature cakes with freshly applied frosting need at least 30 minutes for everything to firm up.
Handy Tips for Cutting a Birthday Cake Like a Pro
A few extra pointers can take your cake-cutting game from decent to downright impressive.
Mark your cuts before making them. Use toothpicks around the edge of a round cake to plan equal sections.
Run your knife under hot water for 15 seconds before each cut for the smoothest results.
Cut with confidence. Hesitant, shaky cuts create more problems than bold, decisive ones.
Use a bench scraper for sheet cakes. The straight, wide blade cuts through the entire depth evenly and lifts pieces cleanly.
For perfectly even slices at a big party, invest in a cake divider. It's a simple plastic disk with marked guidelines that sits on top of the cake and shows you exactly where to cut.
Keep extra napkins nearby. No matter how careful you are, things can get a little messy, and that's totally fine.
How Many Slices Should You Get From a Birthday Cake?
Figuring out how many slices you need depends on the size of the cake and the crowd you're feeding. Here's a rough guide.
A standard 8-inch round cake typically yields 10 to 14 slices. A 9-inch round gives you 12 to 16 slices. A 10-inch round can produce 16 to 20 slices if you cut them on the thinner side.
For sheet cakes, a quarter sheet serves about 12 to 20, a half sheet serves 24 to 40, and a full sheet can handle 48 to 80 servings depending on how large you cut each piece.
When in doubt, cut smaller. It's always better to have leftover cake than to run out before everyone's been served. And honestly, who ever complained about having extra birthday cake lying around?
Keeping Leftover Cake Fresh After Cutting
Once the party's winding down and you've got leftover slices sitting on the platter, you'll want to store them properly so they taste just as good the next day.
Press a sheet of plastic wrap directly against the exposed surfaces of the cake. The key is to minimize air contact, which dries out the sponge and makes the frosting crusty. Some people press slices of bread against the cut sides, and the bread absorbs the moisture loss instead of the cake.
Store the covered cake in the refrigerator if it has perishable filling like cream cheese, whipped cream, or custard. Buttercream and fondant cakes can sit at room temperature for a day or two as long as the room isn't too warm.
For longer storage, wrap individual slices in plastic wrap, then aluminum foil, and freeze them. Frozen cake slices keep well for up to three months. When you're ready to enjoy one, let it thaw in the fridge overnight or at room temperature for about an hour.
Conclusion
Mastering how to cut a birthday cake neatly and evenly really comes down to preparation, patience, and using the right tools for the job. A sharp knife, a bit of hot water, and a steady hand go a long way toward creating slices that look as good as they taste. Whether you're working with a towering round cake or a simple sheet cake, taking an extra minute to plan your cuts saves you from messy results and uneven portions. Next time the candles are blown out, you'll be ready to slice with total confidence.
Read next: 15 Birthday Decoration Ideas to Make Any Party Special
Frequently Asked Questions
1.What is the best knife to use for cutting birthday cake?
A long, serrated knife works best because it slices cleanly without crushing the layers.
2.Should I chill the cake before cutting it into slices?
Yes, chilling for about 30 minutes firms the frosting and makes cutting much easier.
3.How do I prevent frosting from sticking to my knife blade?
Dip the knife in hot water and wipe it clean between each individual cut.
4.Can I use dental floss to cut a birthday cake evenly?
Absolutely, unflavored dental floss creates clean cuts especially on soft and delicate cakes.
5.How many slices does a standard round birthday cake typically yield?
A standard 8-inch round birthday cake typically yields between 10 and 14 even slices.
Stay up to date with our latest ideas!