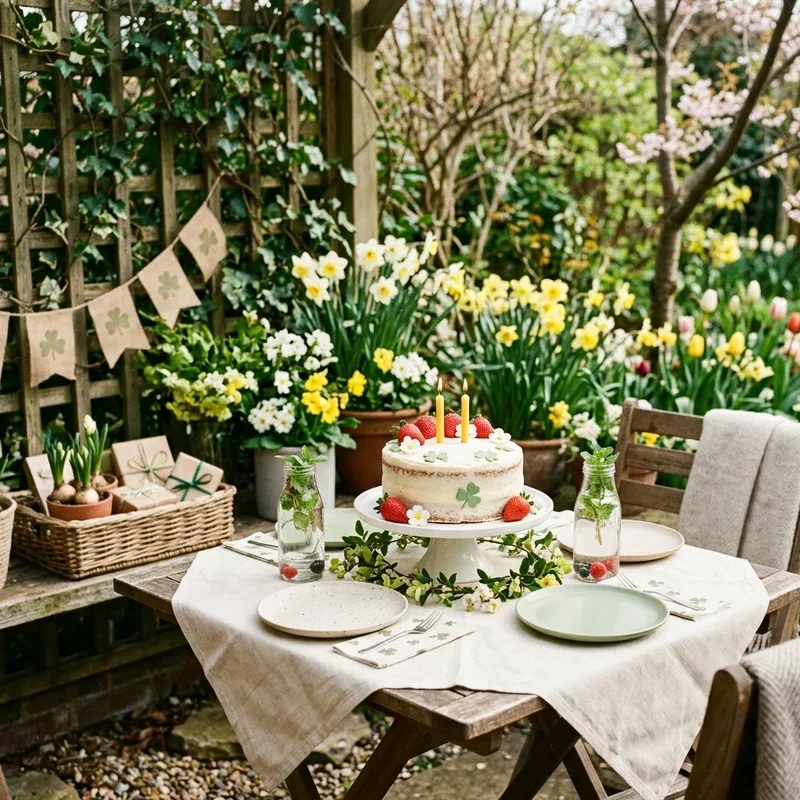
How to Decorate a Birthday Card With Creative Ideas
Discover how to decorate a birthday card with creative ideas that wow. Easy DIY tips, techniques, and inspiration for stunning handmade cards.
There is something incredibly special about receiving a handmade birthday card, wouldn't you agree? In our digital age where quick text messages and social media posts have become the norm, taking the time to create a personalized card speaks volumes about how much you care. Honestly, store-bought cards are lovely and all, but they just can't compete with the heartfelt touch of something you've made with your own two hands. Learning how to decorate a birthday card with creative ideas doesn't require you to be some kind of artistic genius or crafting professional. Nope, not at all. Whether you're a complete beginner who has never picked up a glue stick or someone who dabbles in arts and crafts occasionally, you'll find that making beautiful birthday cards is easier than you might think.
Why Handmade Birthday Cards Matter More Than Ever
In a world where everything moves at lightning speed, slowing down to create something by hand has become somewhat of a lost art. But here's the thing. When you hand someone a card you've made yourself, you're giving them more than just paper and decorations. You're giving them a piece of your time, your creativity, and your love.
Think about it for a second. Anyone can walk into a store and grab a card off the shelf. It takes maybe five minutes, and while the sentiment might be nice, it's nothing particularly memorable. On the other hand, a handmade card shows that you've invested real effort into celebrating that person's special day. That kind of thoughtfulness doesn't go unnoticed, and trust me, it means the world to the recipient.
Plus, making your own cards allows you to customize every single detail. You can incorporate inside jokes, favorite colors, meaningful symbols, and personal touches that simply aren't possible with mass-produced options. It's like the difference between a generic birthday wish and a heartfelt message that perfectly captures your relationship with that person.
Essential Supplies You'll Need to Get Started
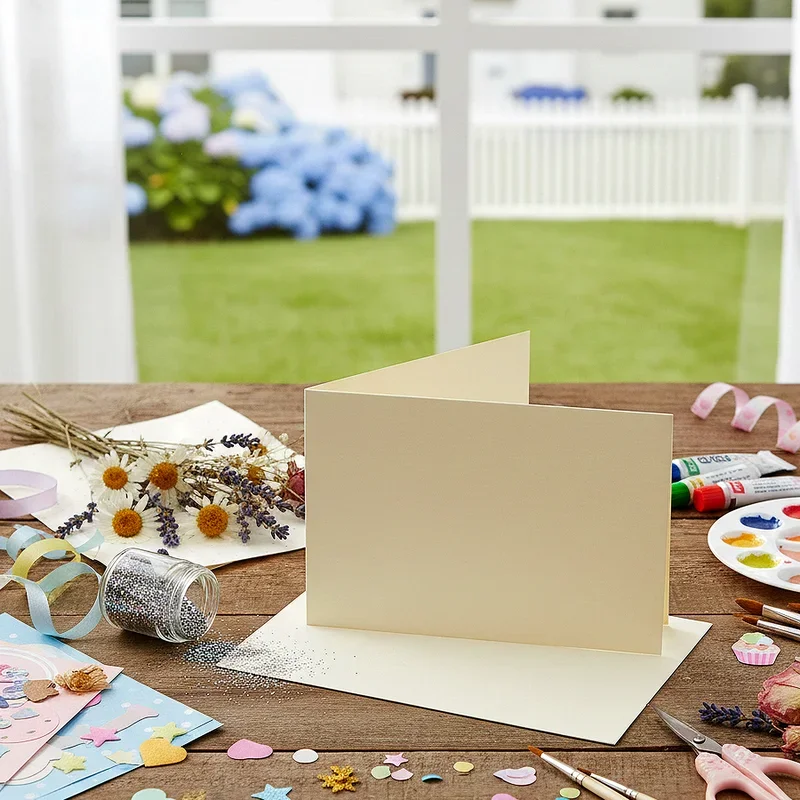
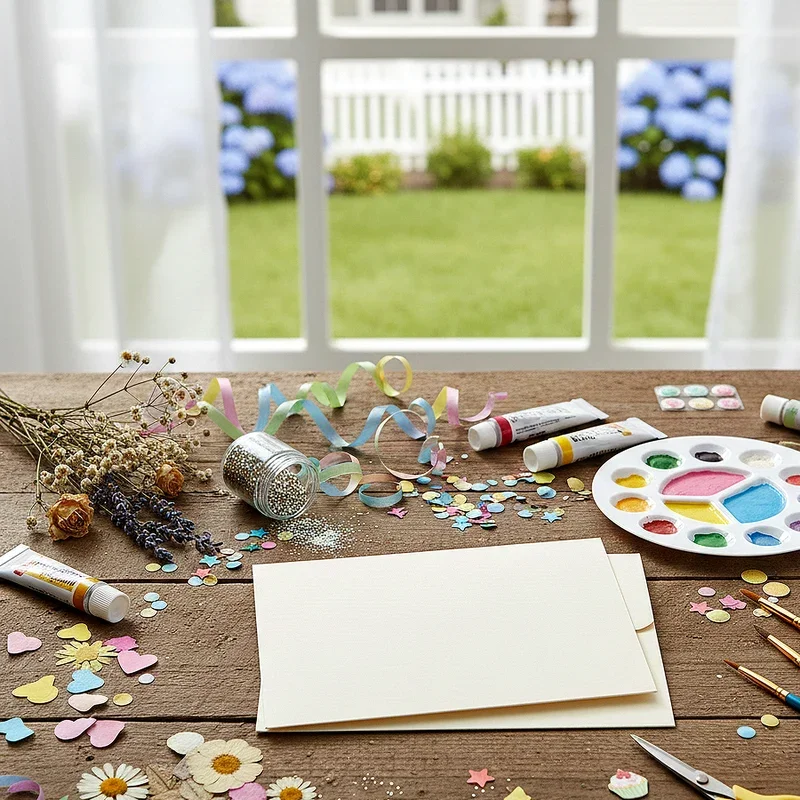
Before we jump into the actual decorating techniques, let's talk about gathering your materials. Having the right supplies on hand makes the whole process smoother and more enjoyable. Don't worry though, you don't need to break the bank or visit a specialty craft store to get started.
For your basic card-making kit, you'll want to have cardstock in various colors, scissors, a ruler, pencils for sketching designs, erasers, and some quality adhesive options like glue sticks, double-sided tape, or craft glue. These fundamentals will serve as your foundation for countless card designs.
Beyond the basics, consider picking up some decorative elements like washi tape, stickers, rubber stamps with ink pads, colored markers or pencils, glitter, ribbons, buttons, and pretty papers for cutting out shapes. You might also want to explore tools like decorative edge scissors, hole punches in fun shapes, and embossing folders if you're feeling fancy.
The beauty of card making is that you can start small and gradually build your supply collection over time. Many crafters begin with just a handful of items and slowly add new materials as they discover what styles and techniques they enjoy most.
Simple Techniques for Stunning Results
Now we're getting to the good stuff. These straightforward decorating methods will help you create impressive cards even if you're just starting out on your crafting journey.
Layering is one of the easiest ways to add visual interest and dimension to your cards. Simply cut pieces of cardstock or decorative paper in progressively smaller sizes and stack them on top of each other. This creates depth and makes your card look more polished and professional. You can layer rectangles, circles, hearts, or any shape that suits your theme.
Hand lettering the birthday message adds a personal touch that printed words just can't match. Don't fret if your handwriting isn't perfect because that's part of the charm. Practice writing happy birthday in different styles, experiment with mixing uppercase and lowercase letters, and play around with adding small flourishes or decorations to your letters.
Using washi tape opens up endless possibilities for quick and easy decoration. This decorative tape comes in countless patterns and colors, and you can use it to create borders, stripes, geometric patterns, or even cute little flags. The best part is that washi tape is repositionable, so you can adjust your placement until you're completely satisfied.
Creative Ideas for Every Skill Level
Whether you're a crafting novice or someone with more experience under your belt, these ideas will spark your creativity and help you produce cards that truly stand out.
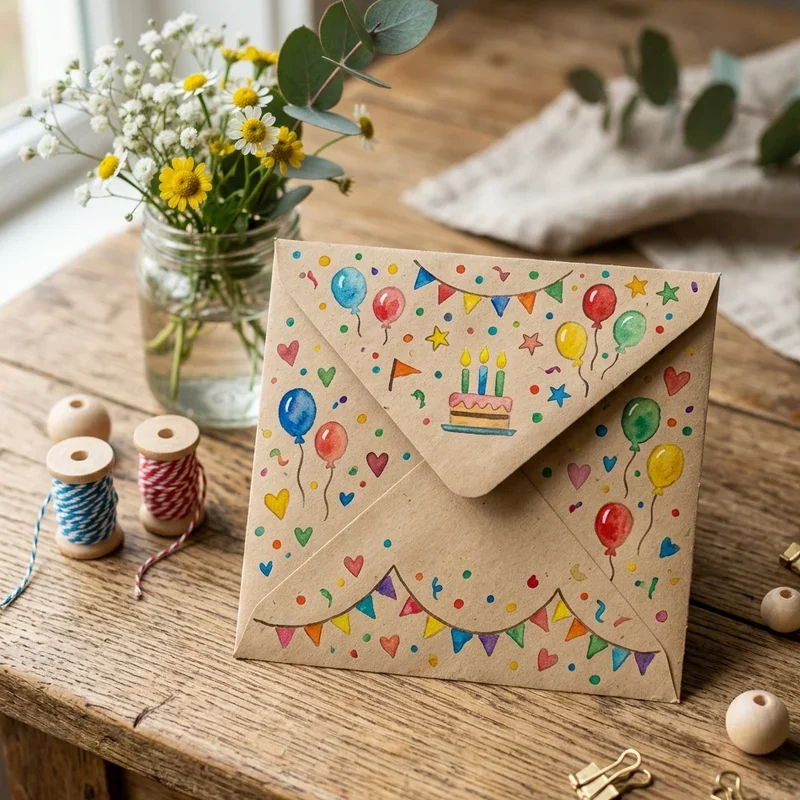
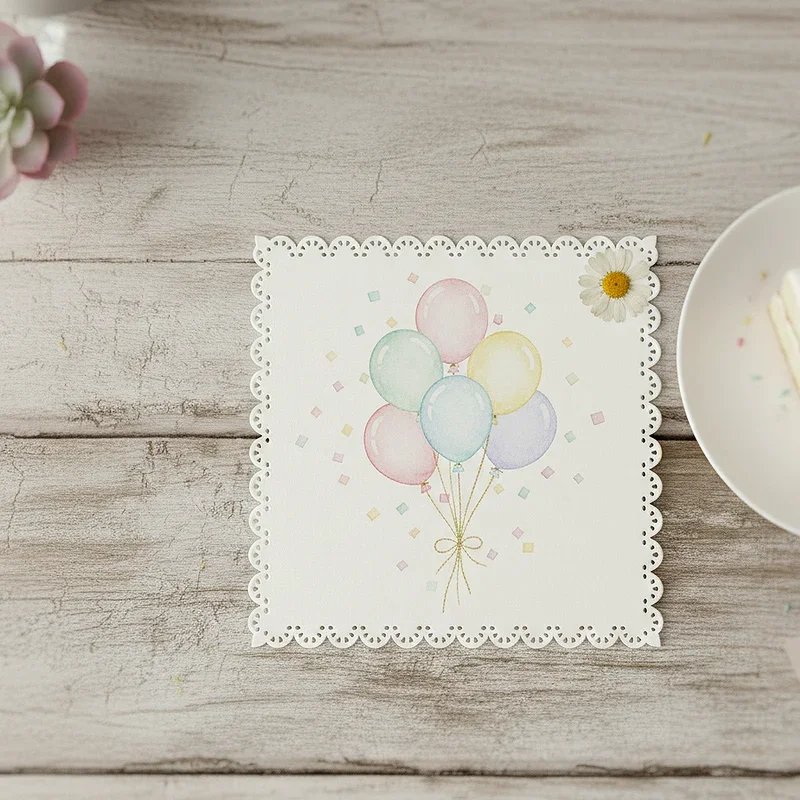
For beginners, try creating a simple balloon design using circles cut from colorful paper. Arrange them in a cluster near the top of your card and draw strings coming down from each balloon. Add a hand-written message below, and voila, you've got an adorable birthday card that looks way more complicated than it actually is.
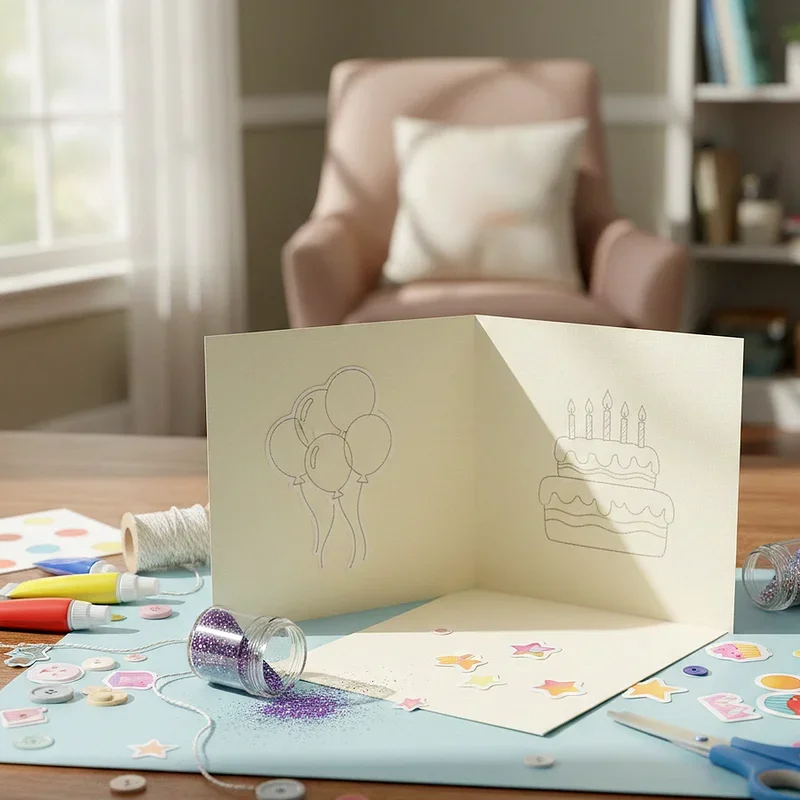
If you're ready to step things up a notch, consider making a pop-up element inside your card. A basic pop-up is surprisingly simple to create. Fold a strip of cardstock into an accordion shape and attach it between the two inner sides of your card. Then glue a decorative element like a birthday cake or gift box to the accordion strip. When the card opens, your decoration pops right up.
Those feeling more adventurous might want to try their hand at creating a shaker card. These interactive cards contain loose elements like sequins or beads that move around behind a transparent window. They require a bit more planning and supplies but the wow factor is absolutely worth the extra effort.
How to Decorate a Birthday Card With Creative Ideas Using Mixed Media
Combining different materials and techniques can elevate your cards from nice to absolutely extraordinary. Mixed media approaches allow you to create texture, visual interest, and unique effects that single-medium designs simply cannot achieve.
Try pairing watercolor backgrounds with stamped images for a soft, artistic look. Paint a light wash of watercolors on a piece of cardstock, let it dry completely, and then stamp your birthday message or decorative elements on top. The combination of the fluid watercolor with the crisp stamped images creates beautiful contrast.
Incorporating fabric elements adds unexpected texture to your cards. Small fabric flowers, ribbon bows, lace trim, or even tiny buttons can transform a flat card into something dimensional and tactile. Just remember that bulkier embellishments might require extra postage if you're mailing your card.
Don't be afraid to mix patterns either. Combining stripes with florals or polka dots with geometric prints can look fantastic when you stick to a cohesive color palette. The key is maintaining some visual harmony while still creating interest through variety.
Themed Decorations for Different Recipients
Tailoring your card design to suit the birthday person's interests and personality shows that you've really put thought into their gift. Here are some theme ideas to consider for various recipients in your life.
For children, think bright colors, favorite characters, animals, or themes like dinosaurs, princesses, superheroes, or space adventures. Interactive elements like lift-the-flap designs, spinning wheels, or peek-a-boo windows are especially popular with younger recipients who love discovering surprises.
When creating cards for adults, consider their hobbies and interests. A gardening enthusiast might appreciate a card decorated with pressed flowers or botanical illustrations. A music lover would probably enjoy a design featuring musical notes or instruments. A coffee addict would get a kick out of a card styled like a coffee cup.
Milestone birthdays deserve extra special attention. For significant ages like 30, 50, or 80, you might incorporate the number prominently into your design, use more elegant materials like metallic papers or calligraphy, or create a card that feels more sophisticated and celebratory.
Eco-Friendly Approaches to Card Decoration
For those who are environmentally conscious, there are plenty of sustainable ways to create gorgeous birthday cards without generating unnecessary waste.
Repurposing materials you already have at home is a fantastic starting point. Old magazines, newspapers, fabric scraps, and even junk mail can provide interesting patterns and textures for your card designs. That wrapping paper from last Christmas? Cut it up and give it new life as decorative elements.
Natural materials also make wonderful embellishments. Pressed flowers and leaves, small twigs, dried herbs, or even sand from your last beach vacation can add unique organic touches to your cards. These elements connect your creation to the natural world in really meaningful ways.
Choosing recyclable or biodegradable supplies when purchasing new materials helps reduce your environmental footprint. Look for papers made from recycled content, plant-based adhesives, and decorations that won't end up sitting in landfills for centuries.
Tips for Making Your Cards Look Professional
Even with simple techniques, attention to certain details can make your handmade cards look remarkably polished and well-crafted.
Precise cutting and measuring make a huge difference in the final appearance of your card. Take your time with scissors or invest in a paper trimmer for perfectly straight edges. Use a ruler to ensure your elements are centered and evenly spaced.
Choosing colors thoughtfully also elevates your designs. Consider using color palettes from nature, photographs, or even fabric swatches as inspiration. Generally, sticking to three or four coordinating colors keeps your card looking cohesive rather than chaotic.
Pay attention to balance and composition. Your eye naturally wants to see some sense of order, whether that's symmetrical arrangement or intentional asymmetry. Before gluing anything down permanently, arrange your elements and step back to see how everything looks together.
Leaving some white space is equally important. Resist the urge to fill every square inch of your card with decorations. Breathing room allows the eye to rest and actually makes your focal points stand out more effectively.
Conclusion
Creating handmade birthday cards is genuinely one of life's simple pleasures that brings joy to both the maker and the recipient. Throughout this guide on how to decorate a birthday card with creative ideas, we've covered everything from basic supplies to advanced techniques that will help you craft memorable cards for everyone you love. Remember that perfection isn't the goal here because it's the thought, effort, and personal touch that truly matter. So go ahead and start creating because someone special is waiting to receive your heartfelt handiwork.
Read next: 15 Birthday Decoration Ideas to Make Any Party Special
Frequently Asked Questions
Q1. What basic supplies do I need to start making birthday cards?
A: You need cardstock, scissors, adhesive, markers, and decorative papers to begin crafting.
Q2. How can I make my handmade cards look more professional?
A: Focus on precise cutting, balanced composition, coordinated colors, and clean finishing touches.
Q3. Are there quick decoration ideas for last-minute birthday cards?
A: Washi tape borders, simple stamped messages, and hand-drawn balloons work beautifully fast.
Q4. Can children help with making decorated birthday cards?
A: Absolutely, kids love adding stickers, stamps, drawings, and colorful embellishments to cards.
Q5. What's the best way to add dimension to flat birthday cards?
A: Try layering papers, adding foam dots, creating pop-ups, or attaching ribbon bows.
Stay up to date with our latest ideas!