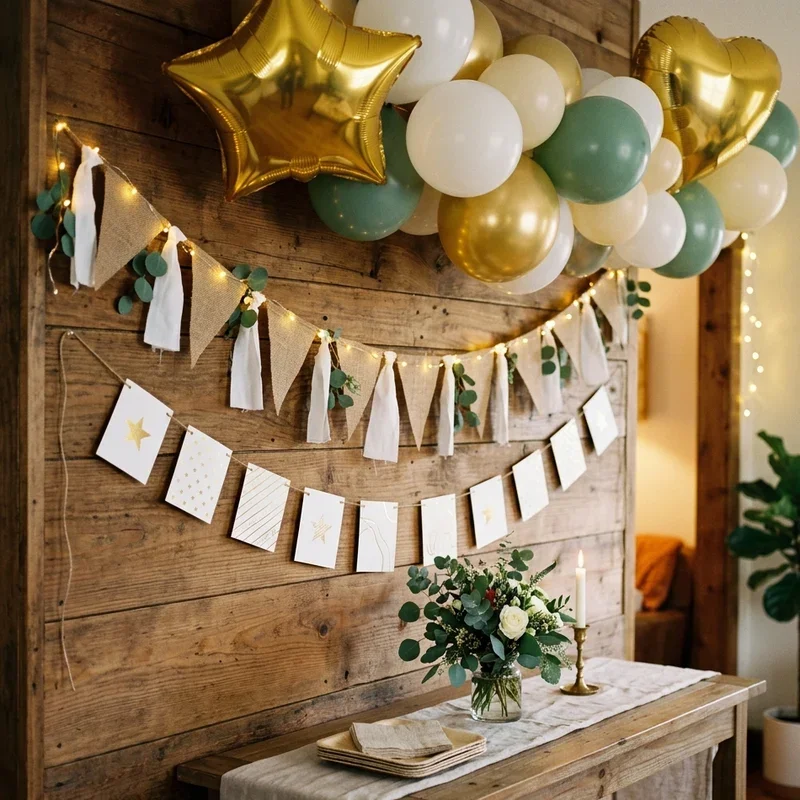
How to Hang a Birthday Banner Step by Step
Learn how to hang a birthday banner step by step with our complete guide. Discover tips, techniques, and tools for flawless party decorations.
The party is tomorrow, the cake is ordered, and you've got that gorgeous birthday banner sitting on your kitchen table just waiting to make its grand debut. There's just one tiny problem. You're staring at your walls wondering how on earth you're going to get that thing up there without creating a lopsided mess or putting holes everywhere.
Sound familiar? You're definitely not alone in this decorating dilemma. What seems like it should be the simplest task in party planning often turns into an unexpectedly frustrating adventure. One side droops, the middle sags, the tape won't stick, or the whole thing comes crashing down the moment you turn your back.
Here's the good news. Hanging a birthday banner really isn't rocket science once you know the tricks of the trade. With a little planning, the right supplies, and some basic techniques, you can create that picture-perfect party backdrop that looks like a professional decorator handled the job.
Understanding how to hang a birthday banner step by step saves you time, prevents wall damage, and eliminates that last-minute party prep panic. Whether you're decorating for a toddler's celebration or an adult's milestone birthday, these techniques work across the board.
This comprehensive guide walks you through everything from choosing the right hanging method to achieving that perfectly level display. We'll cover different wall surfaces, various banner types, and solutions for those tricky spaces that seem impossible to decorate.
Ready to hang that banner like a pro? Let's get started.
Gathering Your Supplies
Having the right tools on hand makes the entire process smoother.
Essential Hanging Materials
Stock up on these basics before starting.
Command strips or removable adhesive hooks offer damage-free hanging that landlords and homeowners alike appreciate. These come in various sizes and weight capacities, so match them to your banner's weight.
Painter's tape works wonderfully for lightweight banners and leaves no residue. The blue or green varieties provide the strongest hold while remaining easily removable.
String or twine becomes necessary for banners without built-in hanging mechanisms. Clear fishing line creates an invisible hanging effect that looks sleek and modern.
Pushpins or thumbtacks work on appropriate surfaces like cork boards, fabric walls, or areas where small holes won't matter.
Helpful Tools
These items make the job easier.
A measuring tape ensures accurate placement and helps achieve that perfectly centered look. Eyeballing measurements rarely turns out as well as you'd hope.
A level, even a smartphone app version, guarantees your banner hangs straight. Nothing ruins party photos faster than a crooked backdrop.
A step stool or ladder provides safe access to higher hanging points. Standing on chairs isn't worth the risk when proper tools exist.
Scissors handle trimming excess string or cutting tape to size. Sharp scissors make cleaner cuts than struggling with dull ones.
Banner Preparation Items
Some banners need assembly before hanging.
If your banner came flat, have ribbon or string ready to thread through letter holes. Choosing ribbon that coordinates with your party theme adds a polished touch.
Safety pins can attach banners to curtains or fabric backdrops without damaging delicate materials.
Clips, whether decorative or simple office clips, provide another attachment option for certain banner styles.
How to Hang a Birthday Banner Step by Step: Planning Phase
Preparation prevents problems and ensures professional-looking results.
Choosing Your Location
The right spot makes all the difference.
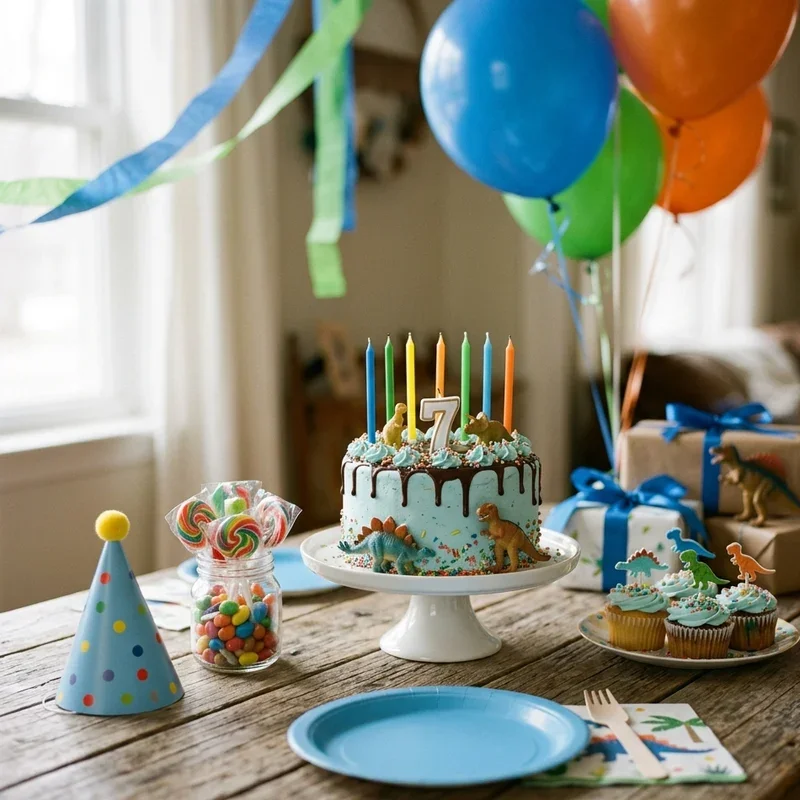
Consider where the birthday person will spend the most time. Behind the cake table, above the gift opening area, or as a backdrop for the main celebration space all work well.
Think about photo opportunities. Banners positioned at eye level or slightly above create better background elements for pictures than those hung too high.
Ensure your chosen wall or space can actually accommodate your banner's length. There's nothing worse than discovering your banner is too long for the designated spot.
Measuring and Marking
Precision matters more than you might think.
Measure your banner's total length including any trailing ribbon or string. Write this number down so you don't forget it.
Measure your wall space to confirm adequate room. Leave at least a few inches on each side rather than stretching the banner corner to corner.
Find the center point of both your banner and your wall space. Matching these centers ensures symmetrical placement.
Mark your hanging points lightly with pencil or painter's tape. These guides help you position adhesives or hooks accurately.
Determining Height
Where you hang vertically affects the overall look.
For indoor parties, hanging banners at around six feet typically works well for most spaces. This height is visible above heads while remaining accessible for hanging.
Consider your guest demographics. Parties with primarily seated guests can position banners lower, while standing events need higher placement.
Leave clearance for any furniture or decorations below the banner. You don't want the banner resting on a table or blocking other decorations.
How to Hang a Birthday Banner Step by Step: Installation Process
Now comes the actual hanging, which is easier than you might expect.
Step One: Prepare Your Surface
Clean walls hold adhesives better.
Wipe down the wall area where you'll place tape or adhesive strips. Dust, grease, or residue prevents proper sticking and leads to falling banners.
Allow the surface to dry completely before applying anything. Moisture undermines adhesive strength significantly.
If using Command strips, follow the package preparation instructions precisely. These products have specific application requirements for maximum hold.
Step Two: Apply Your First Anchor Point
Starting right sets up the whole process for success.
Begin at one end of where your banner will hang. Apply your chosen adhesive, hook, or fastener according to its specific instructions.
Press firmly for the recommended time. Most adhesives need thirty seconds to several minutes of pressure to bond properly.
Wait the full setting time before adding weight. Command strips often require an hour before hanging anything, so plan accordingly.
Step Three: Attach the Banner End
Connecting banner to anchor requires the right technique.
If using hooks, simply loop your banner's string or ribbon over the hook. Ensure enough string remains to create your desired swag or drape.
For direct tape application, press the banner corner firmly against the tape, holding for several seconds. Consider using multiple tape pieces for stronger hold.
Step back and check that this end is positioned at your desired height before proceeding.
Step Four: Create Middle Support Points
Long banners need additional anchors to prevent sagging.
For banners over four feet, plan for at least one center support. Longer banners may need multiple points along their length.
Apply adhesive or hooks at your marked center point. Wait for proper setting before attaching the banner.
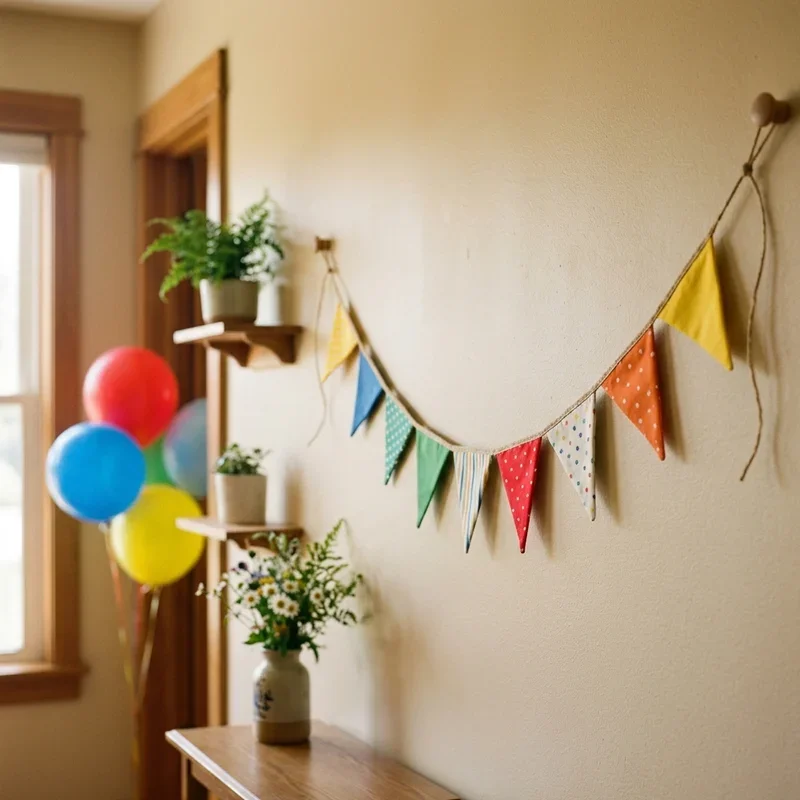
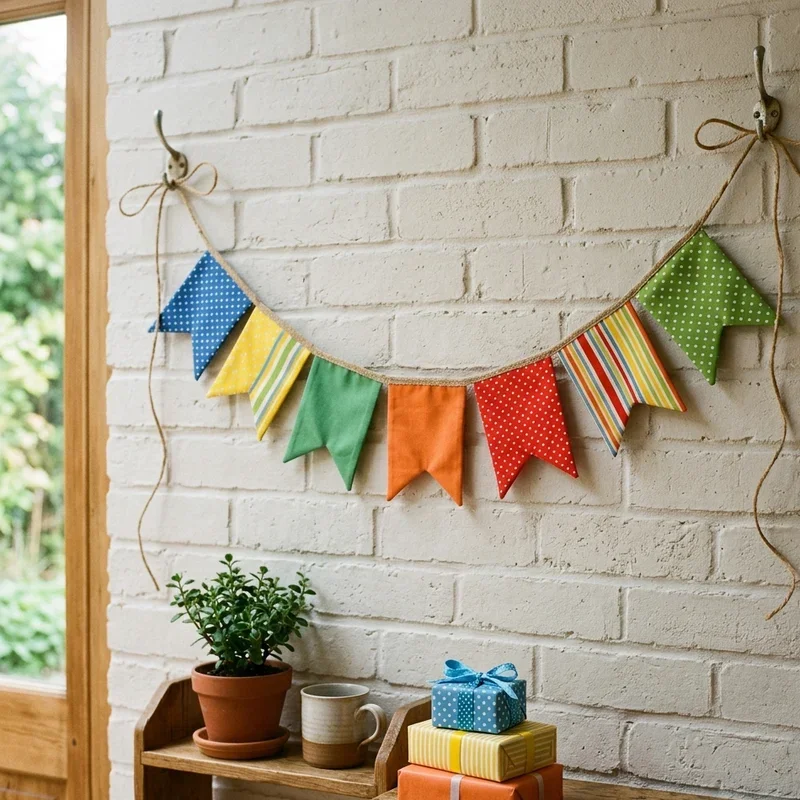
Create gentle, even swoops between support points rather than letting the banner hang in a straight line. This adds visual interest and prevents that stiff, unnatural look.
Step Five: Secure the Opposite End
Completing the installation requires careful final positioning.
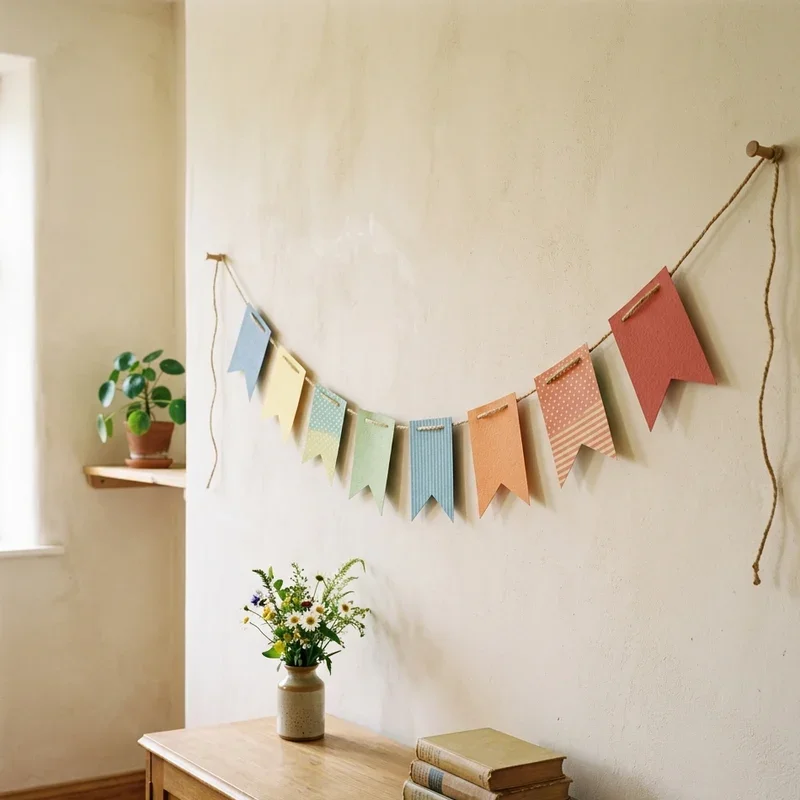
Pull the banner gently taut while keeping your desired swoop pattern intact. Too tight looks stiff, while too loose appears sloppy.
Attach the final end using the same method as the first. Ensure both ends hang at equal heights for balanced appearance.
Step back and evaluate the overall look before finalizing. Making adjustments now is easier than after everything is set.
Step Six: Final Adjustments
Fine-tuning transforms good hanging into great results.
Check that all letters or elements hang evenly. Weighted elements sometimes shift and need repositioning.
Adjust swoop depths so they appear uniform throughout the banner's length. Inconsistent draping looks unintentional.
Ensure all adhesives remain secure. Press any lifting edges firmly back into place.
Different Surface Solutions
Various walls require different approaches.
Smooth Painted Walls
Standard interior walls offer the most options.
Command strips work excellently on smooth painted surfaces. Follow weight guidelines carefully to prevent falls.
Painter's tape provides reliable temporary hold for lighter banners. The low-tack adhesive releases cleanly from most paint finishes.
Avoid regular tape that may peel paint when removed. The savings aren't worth the wall damage and repair hassle.
Textured Walls
Bumpy surfaces challenge standard adhesives.
Command strips designed for textured surfaces exist and work reasonably well. These feature stronger adhesive formulas for uneven areas.
Hooks that screw into wall anchors provide more reliable hold than adhesives alone. Small holes can be easily patched later.
Consider hanging from the ceiling rather than walls if texture makes wall mounting unreliable.
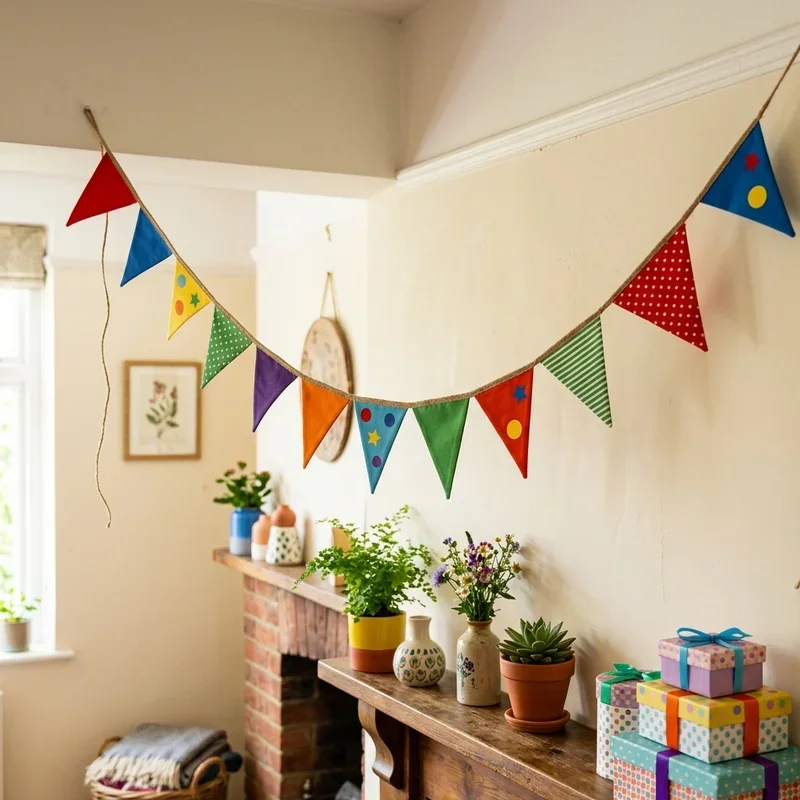
Brick and Stone
Masonry surfaces require specialized solutions.
Adhesive hooks specifically designed for brick provide temporary hanging options. These typically feature extra-strong formulas.
Removable brick clips hook over brick edges without requiring any adhesive or drilling. These work well for lighter banners.
For heavier displays, masonry hooks that tap into mortar joints offer secure attachment.
Outdoor Spaces
Exterior hanging presents unique challenges.
Wind becomes your biggest enemy outdoors. Secure banners at multiple points to prevent flapping and tearing.
Use weather-resistant materials. Outdoor-rated tape and waterproof adhesives prevent weather-related failures.
Consider tying banners between trees, posts, or other fixed outdoor structures rather than attempting wall mounting.
Troubleshooting Common Problems
Even careful hanging sometimes encounters issues.
Sagging Middles
The most frequent complaint with banner hanging.
Add additional support points along the banner's length. More anchors mean less weight pulling at any single point.
Tighten the string or ribbon connecting banner elements. Loose connections allow gradual sagging over time.
Use lighter weight banners for long spans. Heavy paper or cardboard sags more than lightweight materials.
Falling Banners
When adhesives fail mid-party.
Surface preparation is usually the culprit. Oils, dust, or texture prevent proper adhesive bonding.
Weight overload causes many falls. Lighter adhesive solutions can't hold heavier banners, so match products to weights.
Temperature affects adhesive performance. Extremely cold or hot conditions can weaken bonds.
Crooked Displays
Uneven banners photograph terribly.
Use an actual level rather than trusting your eyes. Human perception of level is surprisingly unreliable.
Measure from floor or ceiling rather than from existing fixtures that might themselves be crooked.
Check and adjust before adhesives fully set. Repositioning becomes much harder after complete bonding.
Surface Damage
Sometimes hanging leaves marks behind.
Remove adhesives slowly and carefully following product instructions. Rushing often causes damage.
Clean residue promptly with appropriate removers. Rubbing alcohol handles most adhesive residue safely.
Touch up paint addresses any minor damage. Keep leftover paint from wall projects for situations like this.
Creative Hanging Ideas
Beyond basic wall mounting, creative options abound.
Doorway Displays
Frame entrances for immediate impact.
Hang banners across doorways so guests walk under them upon entering. This creates memorable entrance moments.
Secure both ends to door frames using adhesive or over-the-door hooks. Ensure adequate clearance for tall guests.
Window Backdrops
Natural light creates gorgeous photo opportunities.
Position banners across windows as party backdrops. Light filtering through creates beautiful effects.
Use suction cup hooks on glass surfaces. These hold lightweight banners securely and remove without residue.
Suspended Ceiling Hangers
When walls won't work, look up.
Ceiling hooks or adhesives allow mid-room banner placement. This works well for open-concept spaces.
Create cascading effects by hanging at varying heights. Multiple banners at different levels add dimension.
Furniture Integration
Use what's already in your space.
Drape banners across mantles, bookcases, or entertainment centers. Built-in surfaces often provide natural hanging points.
Secure to furniture backs with removable hooks or clips. This avoids any wall mounting complications entirely.
Conclusion
Mastering how to hang a birthday banner step by step transforms party decorating from frustrating to genuinely enjoyable. Proper preparation including gathering supplies, measuring carefully, and choosing appropriate hanging methods prevents most common problems before they start. Taking time to achieve level placement and secure mounting ensures your banner stays put throughout the celebration while creating picture-perfect backdrops for all those birthday photos. With these techniques in your decorating toolkit, every future party will feature professional-looking banner displays.
Read next: 15 Birthday Decoration Ideas to Make Any Party Special
Frequently Asked Questions
1.What's the best way to hang banners without damaging walls?
Command strips and removable adhesive hooks provide secure hanging without leaving holes or residue.
2.How do I prevent my birthday banner from sagging in the middle?
Add additional support points along the banner length using hooks or adhesive at regular intervals.
3.Can I hang a heavy banner with just tape alone?
Heavy banners require stronger solutions like multiple command hooks rated for appropriate weight capacity.
4.How far in advance can I hang party banners before the event?
Most banners can be hung a day ahead safely, though check adhesive hold before leaving overnight.
5.What should I do if my banner keeps falling down?
Ensure surfaces are clean, use appropriate weight-rated products, and add more anchor points throughout.
Stay up to date with our latest ideas!